Skip to content Skip to footer

How is Windows 11 Set Up Without the Internet

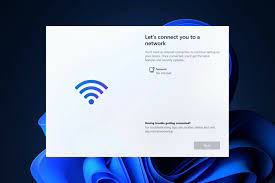
Microsoft mandates that your computer have a working internet connection to finish installing Windows 11. Before you begin using Windows11, it prompts you to log into your Microsoft account so you may receive important updates and new features.

Why is an Internet connection required during Windows 11 setup

window setup
  • Microsoft claims that to execute updates, download files, and use some functions, you must have a working internet connection. Additionally, to complete device setup upon initial use, Windows 11 Home edition needs a Microsoft Account.
  • There are several reasons why this would not be possible. Initially, you might want to log in with a local user account, but doing so will require you to use a Microsoft account to connect to the internet. The absence of WiFi drivers required to connect to the network is the second potential problem. Another reason you might want to get around this restriction is the absence of a functional Internet connection.
  • The “next” button is greyed out at the “let’s connect you to a network” screen in Windows11, though. Users of the Pro version can select “I don’t have internet” and continue with the setup using a local user account; this option is not available to Home edition users.

1)Use Task Manager to stop the network connection flow process.

network connection flow process

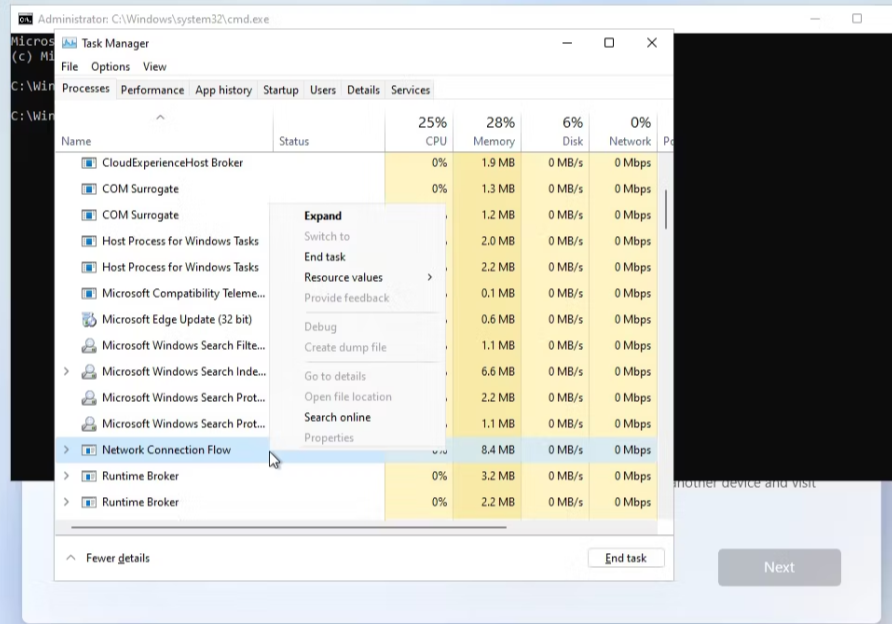
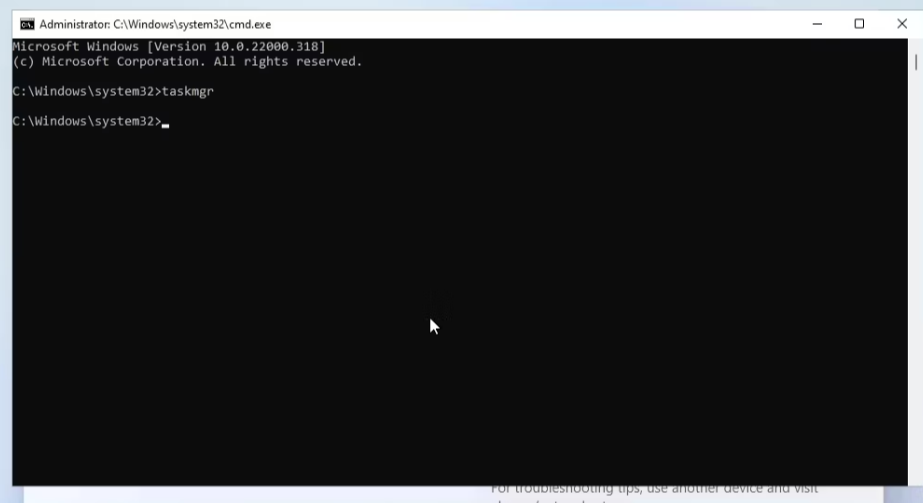
Since Windows 11 is already installed at this point, you may use Command Prompt to start the Task Manager on top of your setup wizard and end the process. This is the procedure.

  • To open the Command Prompt when you are at the Let’s connect you to a network screen, press Shift + F10.
  • To open Task Manager, enter task manager into the Command Prompt window and press enter.
network connection flow process.
  • Alternatively, you can start Task Manager without Command Prompt by pressing Ctrl + Shift + Esc.
  • For complete access to Task Manager, click More Details.
  • Find the Network Connection Flow under the Processes tab.
  • After choosing Network Connection Flow, click the Finish task button. Close the Task Manager after the process has finished.
  • Entering the command “exit” at the Command Prompt.

You’re back in the setup wizard at this point. After some loading animation, it will go on to the following action. To finish the setup and create a local user account, enter your name and password here.

2)Using the Command Prompt, Immediately Terminate a Network Connection Flow

Command Prompt, Immediately Terminate a Network

The Network Connect Flow can be immediately killed using the Command Prompt if you are unable to terminate it through the Task Manager. This is the procedure.

  • Press Shift + F10 at the Let’s connect you to a network screen to open Command Prompt.
  • Enter the following command to run it in the Command prompt window.
  • To proceed with the setup, shut the Command Prompt window after the command has been run.


3)Alt + F4 to bypass Let's Connect You to a Network Page

  • This approach is more of a hit or miss but seems to have helped a few users.
  • Press Alt + F4 to close the window indicating that an Internet connection is necessary when you reach the “let’s connect you to a network” screen. While working on your desktop, you can also utilize this shortcut to shut open windows and programs.


Conclusion

To skip the let’s connect to the network window and finish the Windows 11 setup without the internet, use one of the two techniques described above.

To obtain essential security updates and features, however, you must first complete the setup and create a local user account. Following the initial setup, you might also detect a few missing icons. The following time you connect to the Internet, Windows will download these icons.

Leave a comment